
Source: Pexels

Watching a printer at work could be very confusing. Those blade sure move fast on a stack of paper. The cutting machine is accurate, but sometimes, the blade could go off and cut out text or make borders look uneven. That tiny shift makes it important to understand book layout, bleed trim and safety margins.
Bleed, trim, and margins follow specific measurements. These numbers are simple to apply during your document setup during layout design. You just need to understand it first. That’s what this post is for.
If you are self-publishing for the first time, we will walk you through these three zones to help you prepare print-ready books with confidence.
What Is the Meaning of Bleed, Trim, and Safety Margins?
These three elements are important printing rules. Together, they make your printed piece look clean, accurate, and balanced. As a designer or publisher, you should follow them to avoid costly mistakes. So, what do these words mean?
#1. Trim Size
Trim size is the finished size after cutting your printed book. It defines how every page will measure after printing. For example, the trim size for your paper book can be 6 × 9 or 5 × 8 inches.
It acts like a frame for your final product. Everything on the outside is cut off, and everything inside is part of the design.
The trim size plays a role as the foundation for your book’s layout planning. Every other measurement in your book is built on this.
#2. Bleed
Bleed is the extra background that goes beyond the trim size. Cutting does not always align perfectly. That’s why bleed acts as a space you expect to lose. So even when your book has been cut, the design, colors, and images get to the edge.
Skipping bleed will lead to low output quality. White edges are visible on paper, which makes your design look bad and unprofessional.
As a beginner, always include bleed to achieve a clean and seamless look for your book. Know that:
- colored backgrounds, images, and graphics have to reach the edge.
- Have a safe zone. Your important texts, page numbers, or any important content you’ll lose your mind over if it gets cut off are located there.
#3. Safety Margin
Margin makes space around images and text on a page. It’s the safe space between the end of the paper and your content. The margin is there to protect your logos, texts, page numbers, and main images in the safe zone. This way, your content is hidden during binding or trimming and kept away from being cut off.
While it’s okay to lose the bleed, you can’t risk losing the safety margin. The margin ensures
- Texts remain easy to read
- Bindings do not affect texts and designs
- Key designs and content do not get trimmed
- Your book has a professional layout look.
Once you understand the 3 basic concepts, learning the maths becomes easy.
So What Are the Actual Numbers You Need?
The good news is that the size and layout requirements most printers use are similar. These measurements are good, but they do not apply to every printer. So, please check with your publisher before printing.
- Standard Bleed. A standard bleed size is usually 0.125 inches, or 3 mm, on all sides for most print items. So if your design has a full-page image or colour, include the bleed.
- Safety Margin. Safety margin doesn’t have a particular standard for every book type. For most book pages, 0.25 inches inside the final trim is the general starting. 0.5 inches is the preferred margin for books with a lot of text. Thicker books use more margin because of how the page curves.
How to Calculate Your File Size
Let’s walk through a few detailed steps for calculating your final print size. We will use 5 × 8 inches, which is a very common print size for fiction and non-fiction books in West Africa.
Step #1: Start with the Trim Size
After trimming, the physical size of your finished page measures:
- Width: 5 inches
- Height: 8 inches
Step #2: Add Bleed
Use 0.125 inches on every side as the bleed’s measurement.
Calculate:
- Total Width: Trim Width + Left Bleed + Right Bleed (5 + 0.125 + 0.125) = 5.25 inches
- Total Height: Trim Height + Top Bleed + Bottom Bleed (8 + 0.125 + 0.125) = 8.25 inches
Step #3: Set the Safety Margin
Move your useful content inside the trim line and set a minimum of 0.25 margin on all sides. This is your safe zone, so every important detail remains inside.
Step #4: Prepare for the Cover
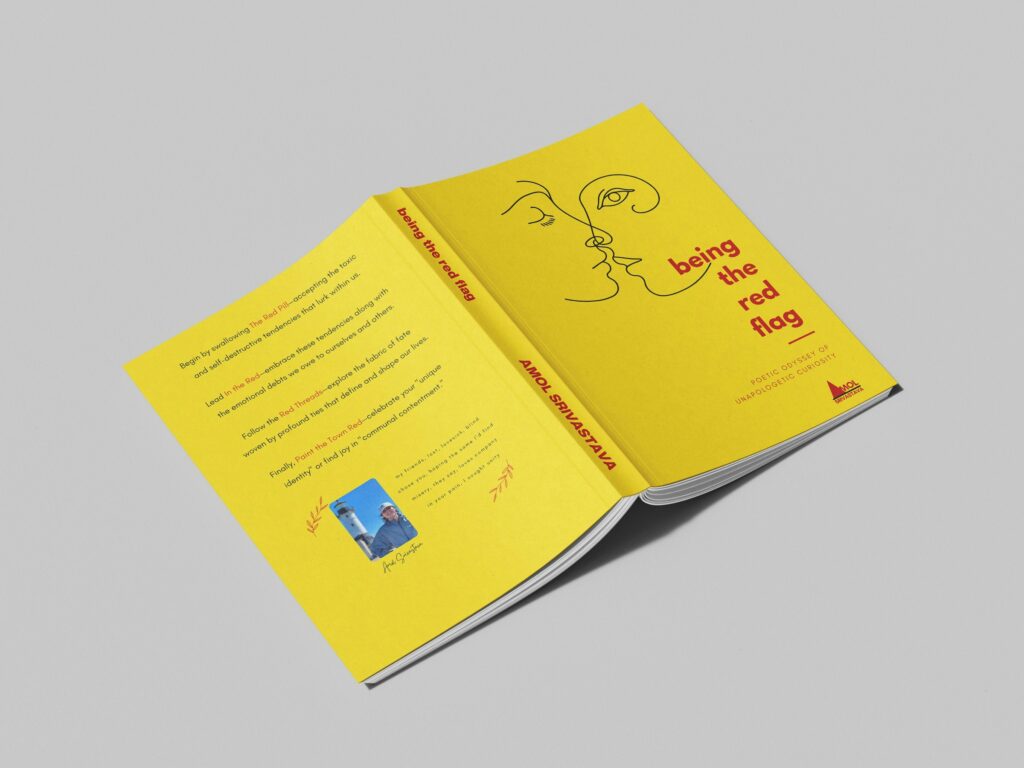
The cover is calculated differently, unlike the interior pages. You design it as one flat image that includes the front and back cover, spine, and bleed in one. In this case, calculating the cover size comes after knowing the spine width. Let’s figure that out.
Calculating Spine Width for Covers
Source: Unsplash
Since covers are different from interior pages. Knowing how wide the spine should be is the first step before exporting a print-ready cover.
Page Count and Paper Thickness
Every book has its own unique spine width even if you are publishing your book online. You get the measurement after calculating the paper count and paper type. For instance, the spin width of your 100-page novel will be different from that of a 400-page self-help book. Also, paper thickness can cause differences in spine measurements.
Formula:
Page count × Paper thickness per sheet = Spine width
Paper thickness does not have a fixed number. Every printer also has its own paper stock it uses. So know your printer’s exact spine width before designing.
A5 Vs. the other Book Sizes?
A lot of authors start off going for bigger sizes and then change their mind when they find out that printing most books bigger than A5 costs more. But are you settling when you go for A5?
#1. Familiarity and readability
A5 is actually the standard trim size for most paperbacks across West Africa. Your readers are also used to holding and reading books in this format. An A4 book can sometimes feel intimidating to sit down and read, whereas A5 feels doable.
#2. Portability
It’s easy to slide an A5 book into a tote bag or handbag which is something readers like. They can read it on their commute or during breaks. A bigger book size ends up sitting on a desk at home.
#3. Better shelf display
(Not all but many) booksellers and vendors prefer stocking books that fit neatly on standard retail shelves. Overly large or awkwardly sized books get pushed to bottom shelves or flat displays where they collect dust.
#4. Cheaper shipping and delivery
Smaller books weigh less and take up less physical volume. If you plan to send bulk copies across the country, ship to bookstores, or mail copies to readers directly, then lower package weights cut down your logistics costs significantly.
#5 Cleaner layout usually
Designing an interior layout for A5 requires less fluffing. With larger page sizes, authors often struggle with awkward line lengths and giant blocks of white space unless they increase font sizes or line spacing to compensate, which looks amateurish.
A good layout designer can handle it without sweat. Still, for the most part, A5 makes standard body text look balanced naturally.
Common Mistakes That Get Text Chopped
Whether you go with A5, A4 or some other size, there are so many things that can go wrong when basic printing rules are ignored. Most of these mistakes happen when you:
#1 Place Page Numbers at the Edge
Page numbers are at the bottom of the page. A slight shift could trim part of it when they are too close to the trim area. Learn to place them inside the safety margin
#2 End Background Images at the Trim Line
A little shift while trimming will leave white lines If a full-page image ends at the trim line. Always extend your designs to the bleed space to avoid losing fractions of it.
#3 Forget Back Cover Safety Margins
Prioritizing the front cover only is another mistake. Some designers fail to pay attention to the back cover. Overlooking the back could get slices of your barcode, author profile, or logos trimmed. So use the same safety margins throughout the cover.
#4 Treat Bleed as Optional
Don’t consider the bleed an option or an extra precaution. It is not. Use the bleed if your file specifies it. Ignoring it can make books print wrongly, and files get rejected. Include it to avoid delay, save money, prevent frustration and save your hairline.
Conclusion
Bleed, trim, and safety margins are small details but they also play a major role in helping you end up with a professional-looking book. You want to make sure that you get it right.
Crows Publishing can help with professional interior layout, cover preparation, and print-ready files that meet your printer’s specifications. DM us to get started.
FAQs
1. What is bleed in book printing?
Bleed is the extra area that extends beyond the trim line. It is a protective layer you can trim over without leaving white borders.
2. How much bleed does KDP require?
KDP bleed size is typically 0.125 inches (3 mm). You can always check KDP’s latest file specifications before exporting your final document.
3. What happens if I don’t include bleed in my file?
White strips will appear around the edges after trimming if you don’t include bleed. Also, if your printer requires bleed for your project, not using it can lead to file rejection.
4. How do I calculate spine width for a book cover?
Multiply your page count by the paper thickness per sheet. Paper thickness varies between printers and paper types. Always check your print provider’s spine width calculator to know the correct measurement.